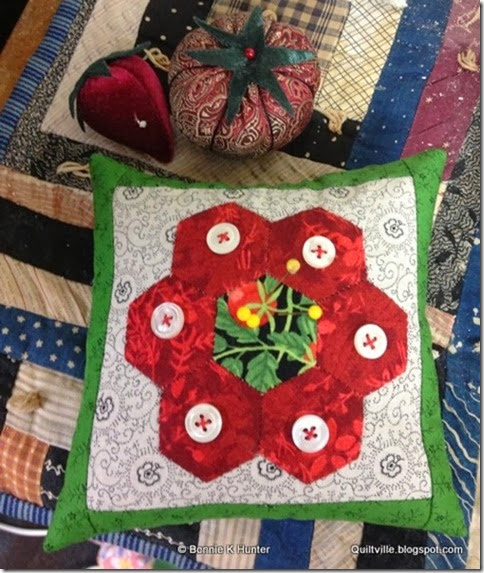
I spent last night kitting up a small project to gift my travelers with on our Germany Trip!
((TWO MORE SLEEPS until I leave Friday morning! I am getting so very excited!))
We won’t have access to sewing machines, and I wanted to come up with something that didn’t take up a lot of space in their suitcases , because that real estate is saved for all the Christmas Market goodies and souvenirs people will be bringing home!
What could I do that is small and cute and a good memento of our time together?
I’ve kitted up the papers, the hexie fabrics, and the other parts needed for making a lovely Christmas colored hexie pincushion!
We’ll learn how to do basic English Paper Piecing on our rosettes. And when the rosette is assembled we can applique them down to the background square.
If you want to make one, you’ll need 7 3/4” per side hexie papers and fabric for the rosette. Click HERE for my hexagon tutorial which will show you how to make the rosette.
You will also need:
1 5” background square
2 1-1/4” X 5” rectangles
2 1-1/4” X 6-1/2” rectangles.
1 6-1/2” backing square. Mine match the color of the borders on the front.
Appliqueing the hexie rosette in place!
After the rosette is assembled, press it well. Remove the papers from the hexies WITHOUT removing the basting. The basting will help keep your seam allowance turned under. Center the rosette within the background square and pin in place. Applique the rosette to the background square
I did this yesterday at the cabin – if I had had red thread on me, I would have used that ---my stitches are more visible than I like them to be – so use thread that matches your fabric!
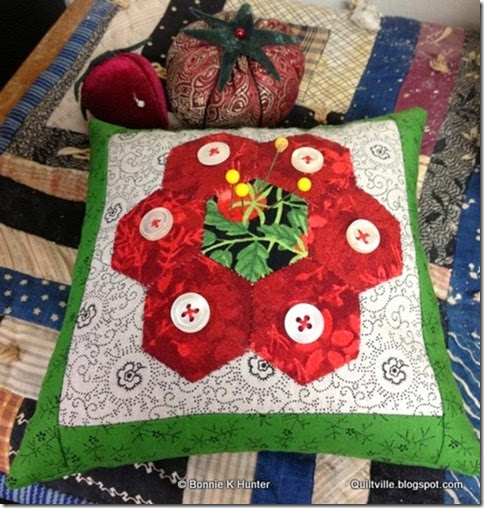
All appliqued down!
I chose to embellish my rosette by adding some vintage buttons from my button jar!
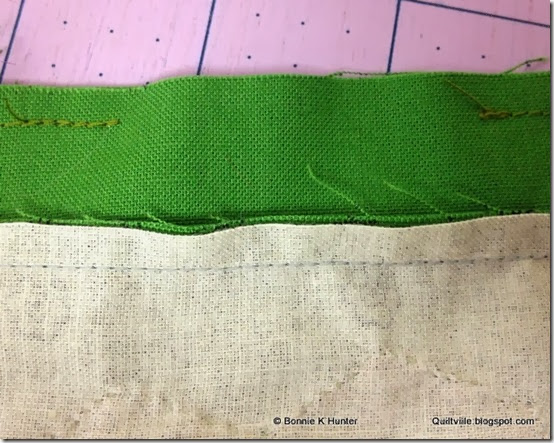
Place the pin cushion top and backing fabric with right sides together. Starting part way down one side, sew around the edges with a 1/4” seam, leaving an opening approximately 2” long for turning and stuffing.
My opening! Back tack at the beginning and ending of stitching.
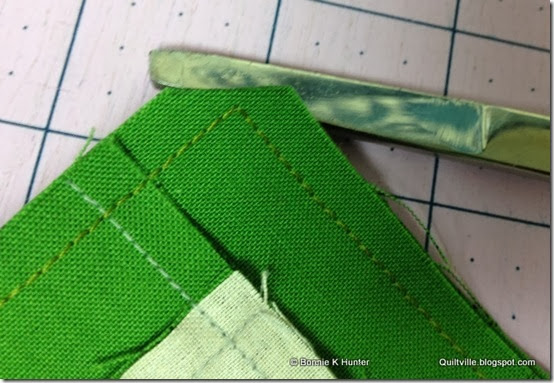
Clip corners before turning!
And now the fun begins! What to stuff with?
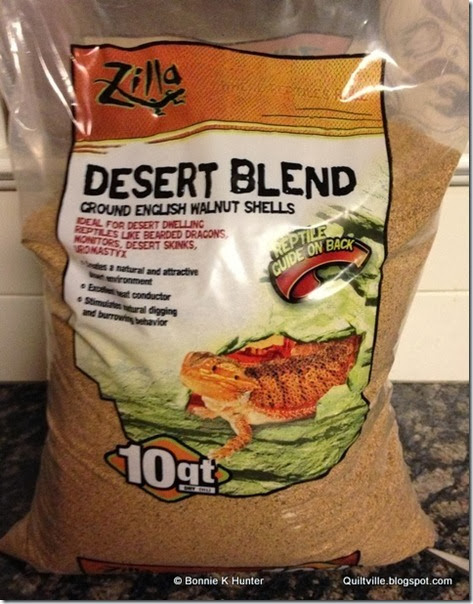
You can use sand, or wool –but I like ground walnut shells!
And they did NOT have a smaller bag than this!
I got this at Petsmart in the “reptile” section. The walnut shells are very finely ground and perfect for pincushions! Buy one bag and have a pincushion party with your quilt bee ---
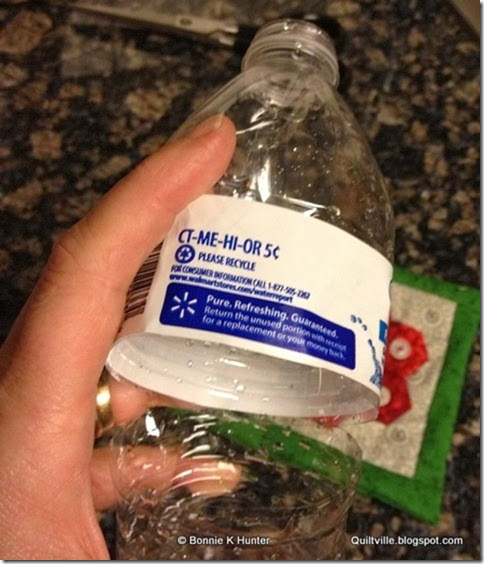
Now how to fill the pin cushion? I could not find a funnel on hand anywhere ----so I got resourceful:
Cut a plastic water bottle in half!
Insert the bottle top into the hole in the side of the pincushion.
Do this over a large bowl ---it gets messy! I used the bottom of the bottle as my “scooper”. You are going to want to fill the pincushion as FULL as is humanly possible. Work the filling into all of the corners.
All done!
Hand stitch the opening closed on the side of the cushion, keeping stitches small and close together to keep ground walnut shells from escaping.
**Note** I am NOT traveling to Germany with a huge bag of ground walnut shells! They can sew their cushions together and fill them once they get home! LOL!
**Note** I am NOT traveling to Germany with a huge bag of ground walnut shells! They can sew their cushions together and fill them once they get home! LOL!
This would also make a great Mug Rug – just add a layer of batting instead of stuffing with walnut shells. Great for gift-giving this holiday season!
ENJOY!
I’ve kitted up 24 sets --- all I need is my travelers ready to sew!
Remember – there IS Quilt-Cam tonight! 9 PM Eastern! Hope to see you there!
 tháng 12 04, 2013





Không có nhận xét nào
Đăng nhận xét